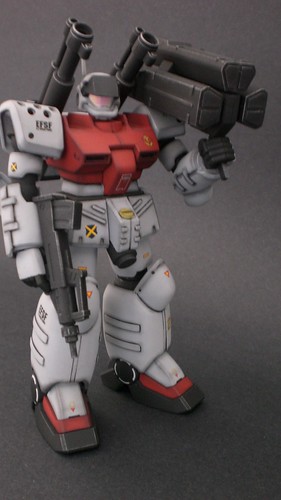
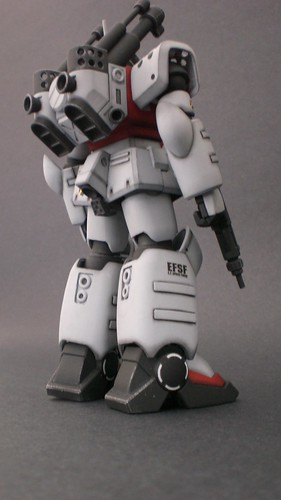
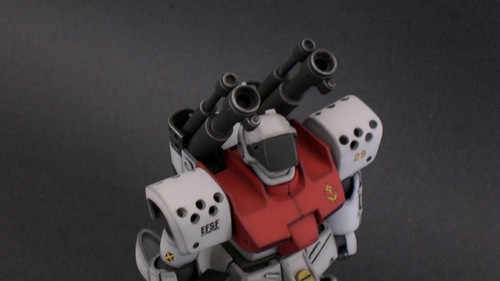
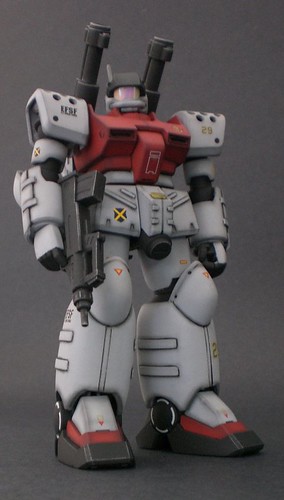
Division: 10th Artillery
Division Insignia: Yellow Roman Numeral X on Navy Blue Shield
Rank: Corporal
Comments:
For this kit, i wanted to stay away from the traditional all red body and white head color scheme. I always thought it looked a bit wierd with a solid color for the entire body (whether red, blue, green, etc) with a white head. In my ideal UC universe, the federation would have standard colors much like any military with their standard colors. So I decided that for my collection, I should use a variation of the standard color for the GM as the standard scheme for all my "grunt" EFSF Mobile SUITs. I think if the UC universe was real, like any military, colors would be conforming (with the exception of special forces or ace pilots). So I chose light grey and primary red for my standard Feddie colors. With a GM 79 and a GM command to match in color and markings, I think it will be a nice addition to my HGUC collection. The seams where a real pain in the A for this kit, not paint friendly engineering at all. Anyways, as usual mistakes here and there but im glad i finally got to finish.
Ingredients:
- All purpose acrylic paint
- Iridescent wrapping paper for visor (From Michael's Craft Store)
- Bandai decals
- US Air Force Decals for the roman numeral 10
- Water color wash
- Pastel weathering
- Dry Brushing silver
- Testor's dullcote
Fully Equipped 10th Artillery Mass Produced Guncannon


7 comments:
Nice job there - love your colour scheme. Really nicely done shading and weathering on the white.
What type of markings did you use? Decals?
Cheers,
Jase.
Oops - should have read th epost thoroughly before I opened my mouth.... Decals they are....
Jase.
I really love the color scheme...I will be using the same one for my EFF and EFSF models. Although my gray and red are a bit darker.
Which reminds me I should post some pics of my RGM-79(G) that I am working on.
Absolutely beautiful work. Truly inspirational!
How did you manage that effect on the main camera visor?
Thanks. I used the reflective wrapping paper found in any craft store.
Really? Never would have thought!
How did you attach it?
I glued it flush and cut away the excess. Anything could be used for anything for model making.you just need to be creative.
Post a Comment